ヘッダーにあるインフォメーションバーを2つにするカスタマイズ!
見本はこちら!
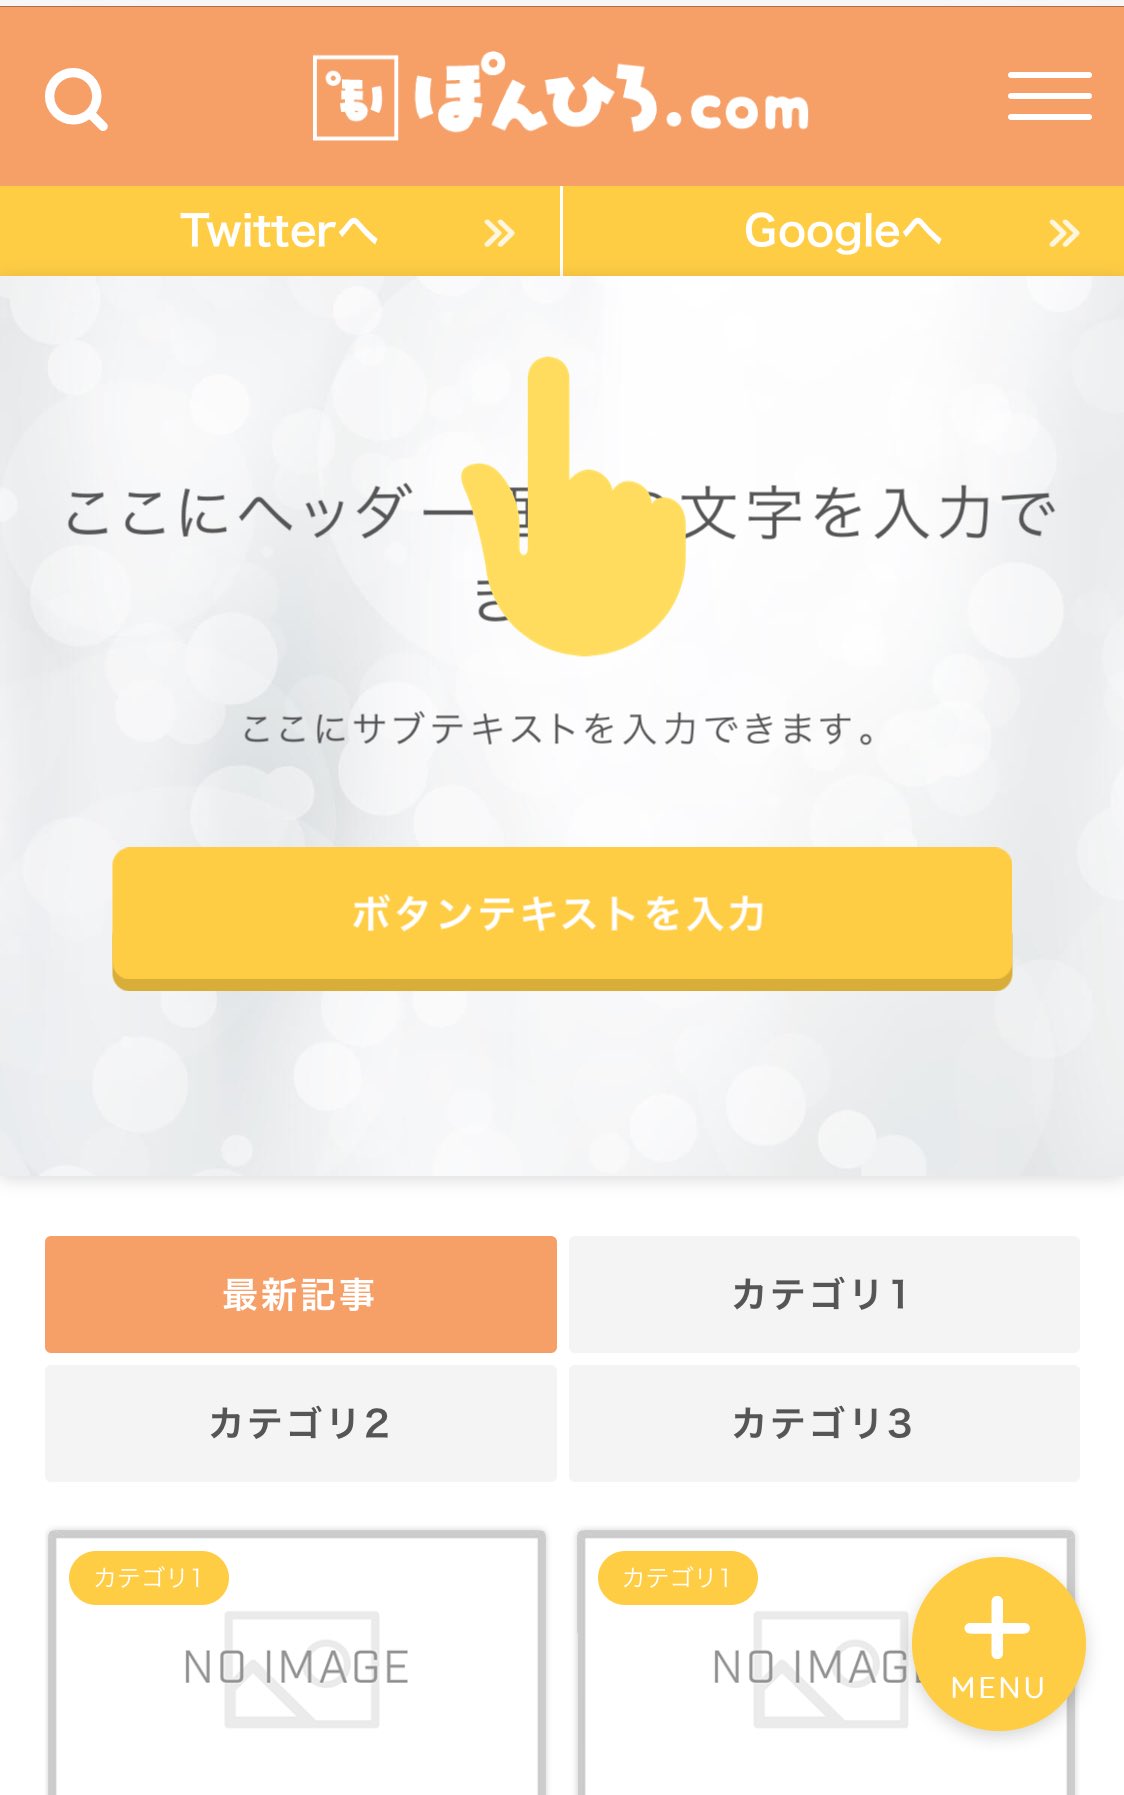
そのまんまですね。
めっちゃ簡単です!コピペで5分もあれば実装可能です。
では作り方を見ていきましょう。
インフォメーションバーを2つにする方法
手順は以下の通りです。
以上です!なんて簡単なのでしょうか!
ちなみにインフォメーションバーの設定は知ってると思いますが…
外観→カスタマイズ→ヘッダー設定の一番下にあります。
設定済みの人はそのまんまでOK!
設定したものが左側のリンクになります。
STEP1:CSSをコピペ
CSSをコピペしていきます。
「外観→テーマエディター→style.css(子テーマ)」。もしくは、「外観→カスタマイズ→追加CSS」に貼り付けてください。
CSSが反映されない場合はスーパーリロード(Ctrl+F5orShift+F5)してください。
/************************************
** インフォバーを2つにする
************************************/
.cps-info-bar{
    display:-webkit-box;
    display:-ms-flexbox;
    display:flex;
}
.cps-info-bar a{
    display:-webkit-box !important;
    display:-ms-flexbox !important;
    display:flex !important;
    -webkit-box-pack: center;
    -ms-flex-pack: center;
    justify-content: center;
    -webkit-box-align: center;
    -ms-flex-align: center;
    align-items: center;
}
.cps-info-bar a:first-child{
    border-right: 1px solid #fff;
}
.cps-info-bar a:last-child{
    /* background:#ccc !important;  */
}
.cps-info-bar a span:after, .cps-info-bar.animate a span:after {
    right: -20px;
}
@media screen and (max-width: 767px){
    .cps-info-bar a, .cps-info-bar.animate a {
    	padding: 6px 30px;
    	position:relative;
    }
    .cps-info-bar:after, .cps-info-bar.animate:after {
    	content:unset;
    }
    .cps-info-bar a:after, .cps-info-bar.animate a:after {
    	position: absolute;
    	font-family: "jin-icons";
    	content: "\e910";
    	color: #fff !important;
    	right: 29px;
    	top: -2px;
    	bottom: 0;
    	margin-top: auto;
    	margin-bottom: auto;
    	width: 0;
    	height: 15px;
    }
    .cps-info-bar.animate a:after {
    	animation-name: cps-info-icon-animate;
    	animation-duration: 1.7s;
    	animation-delay: 1.4s;
    	animation-fill-mode: forwards;
    	animation-timing-function: ease;
    	animation-iteration-count: infinite;
    	filter: opacity(1);
    	z-index: 4;
    }
}
色の変更方法
左側の背景色はJINのカラー設定から行ってください。
右側の背景色を変えたい場合はCSSを変更します。左右同じでいい人は飛ばしてください。
先ほど貼り付けたCSSの24行目付近にある…
.cps-info-bar a:last-child{
    /* background:#ccc !important;  */
}
これが2つめの背景色です。
有効化するには
.cps-info-bar a:last-child{
    background:#ccc !important;
}
前後のアスタリスクとスラッシュを外してやってください。
あとは#から始まるカラーコードを変更すればOK!
STEP2:JavaScriptをコピペ
右側のインフォメーションバーを追加するJavaScriptをコピペします。
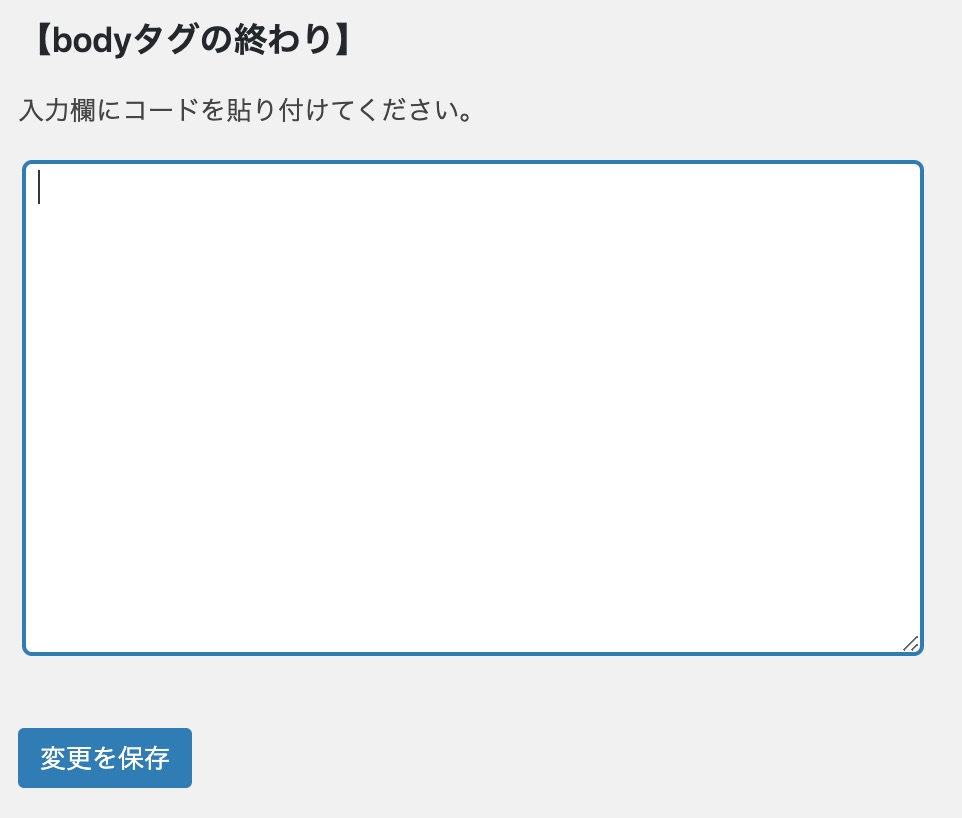
WordPressの管理画面からHTMLタグ設定を開いてください。
【bodyタグの終わり】にコードをコピペします。
すでに何か書いてある人はその下からで大丈夫です。
<script>
jQuery(function() {
  jQuery('.cps-info-bar').append('<a href="https://google.com"><span>Googleへ</span></a>');
});
</script>
あとはリンク先URLと表示されるテキストを変更して終わりです!
「https://google.com」がリンク先URLで、「Googleへ」が表示されるテキストです。
これらを変更すればOK!
前後のチョンチョン(ダブルクォーテーション)を消さないように注意してくださいね!
別タブで開きたいって方はこっち!
<script>
jQuery(function() {
  jQuery('.cps-info-bar').append('<a href="https://google.com" target="_blank"><span>Googleへ</span></a>');
});
</script>
以上です!
お疲れさまでした!
コメント
jinを使っています。
スマホだと、インフォメンションバーが上下に並んでしまうのですが、何が原因か分かりますか?
以下の2つの不明点があります。
STEP1:CSSをコピペ について
「追加CSS」にコピペして、スーパーリロードをかけてインフォメーションバーを追加することはできたのですが、ページの最上部に表示されてしまいます。表示位置はどのようにすればよいのでしょうか?
STEP2:JavaScriptをコピペ について
記載された通り、【bodyタグの終わり】にコードをコピペしたのですが
「閲覧できません (Forbidden access)
指定したウェブページを表示することができません。
入力したURLや値が正しくない可能性がございますのでご確認ください。」
と表示されます。なぜでしょうか?
ご返信いただければ幸いです。
※プログラム関連のことはど素人です
長らく拝見させて頂いております。
いつもありがとうございます。
コチラのカスタムですが、数日前までは表示されていたのですが、急に表示されなくなりました。
何か原因はわかりますでしょうか?
お教えいただければ幸いです。
解決しました。。すみません。
プラグイン「Autoptimize」のJavaScriptオプションの「連結しないで遅延」にチッェクを入れていたのが原因でした。